How to Shoot Astrophotography (in Great Sand Dunes National Park)
How to Shoot Astrophotography (in Great Sand Dunes National Park)
A beginner’s guide to capturing Astrophotography in Colorado’s Great Sand Dunes National Park
Discussed in this blog: camera settings, camera gear, location scouting tips and more.
Prepare and Make a plan
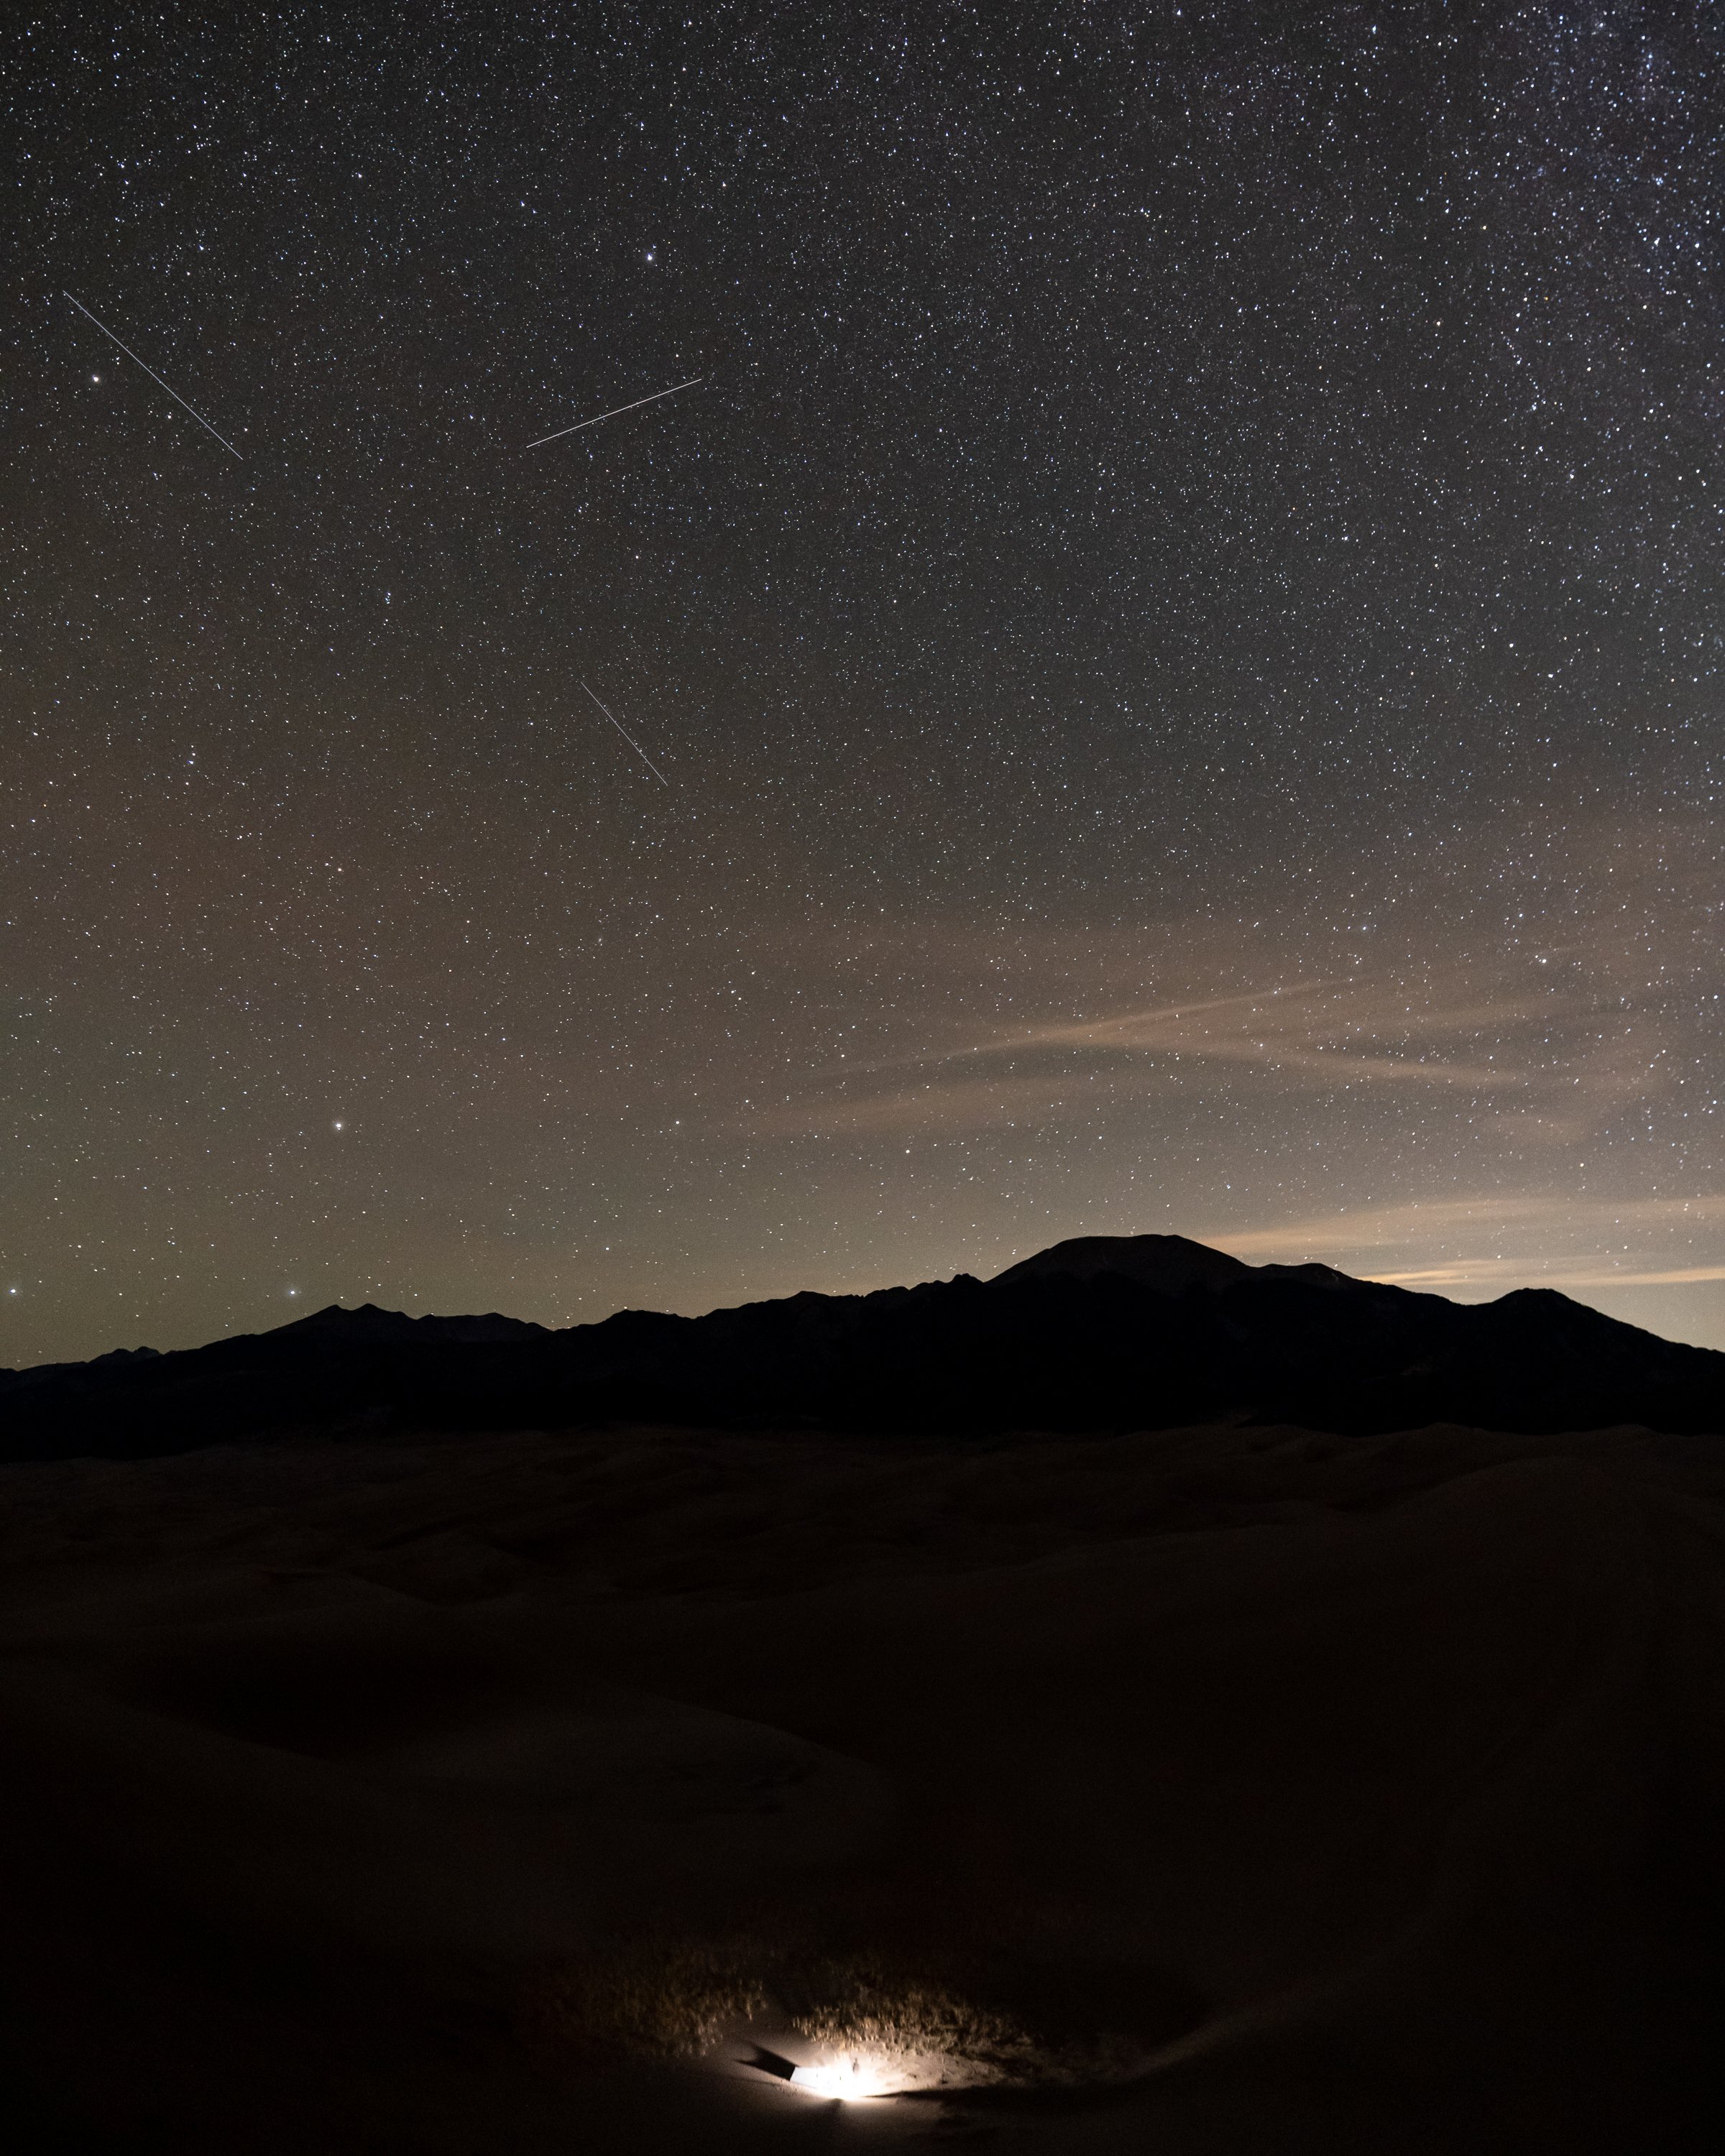
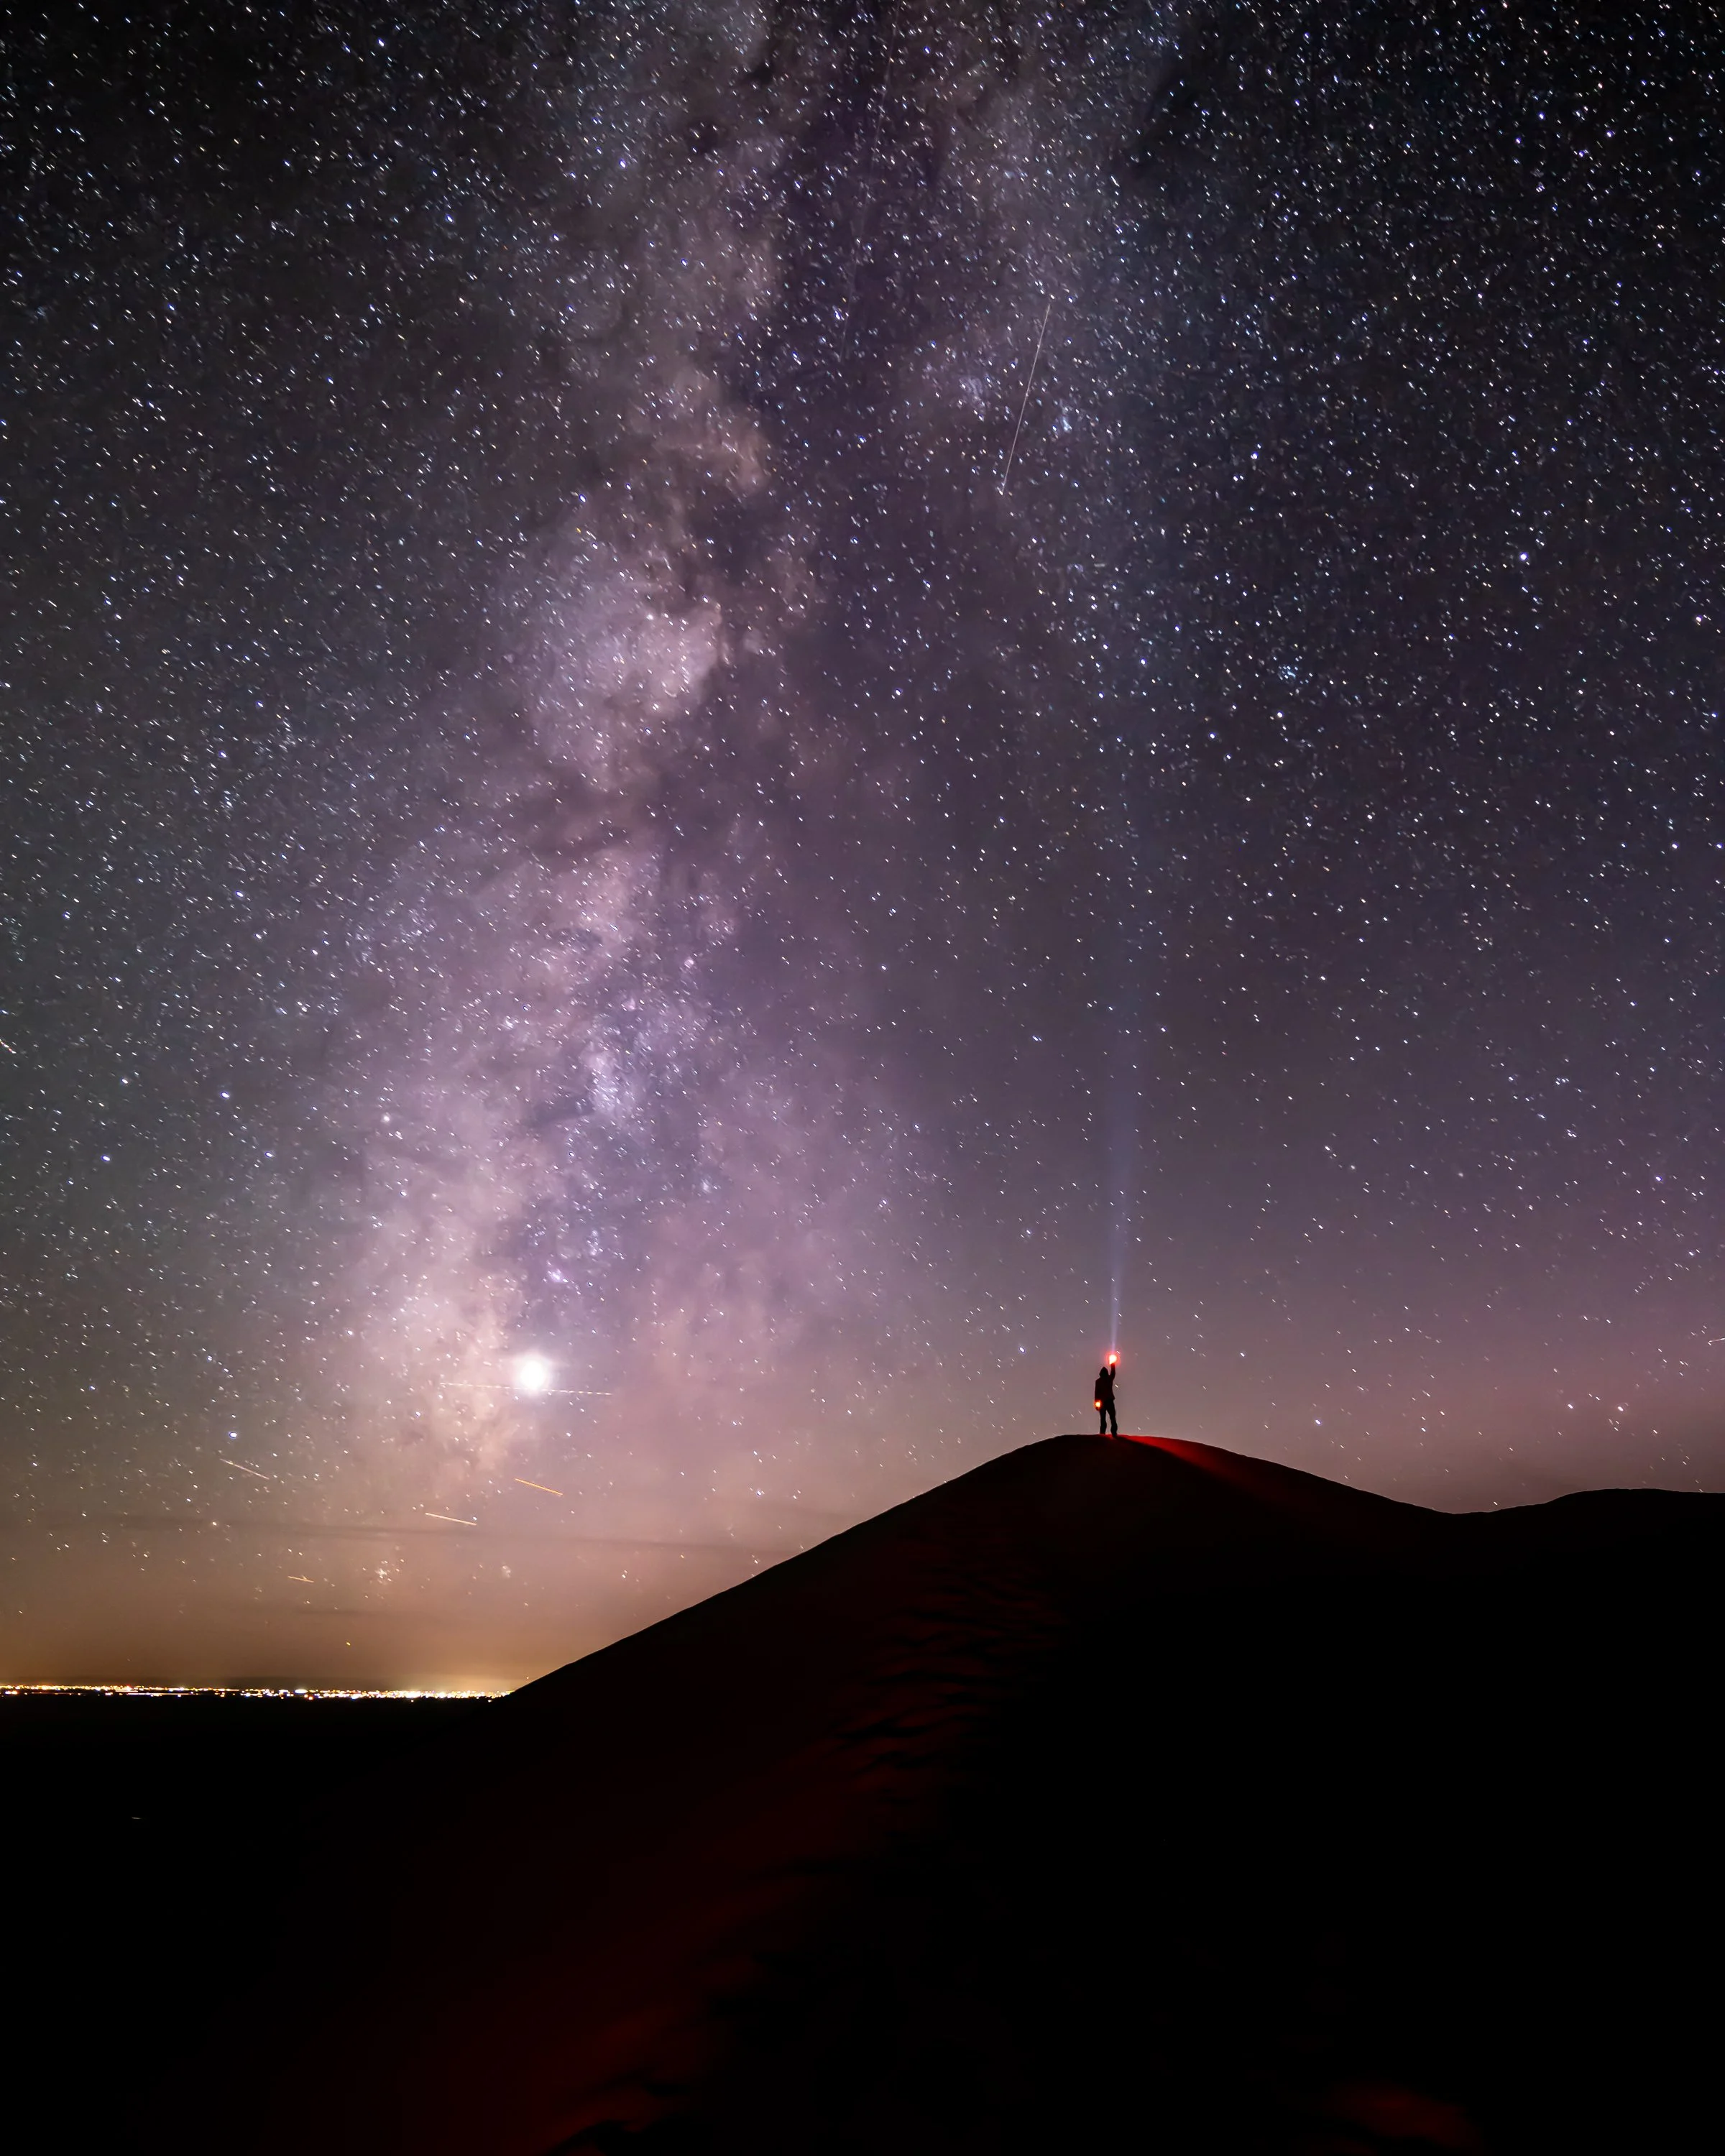
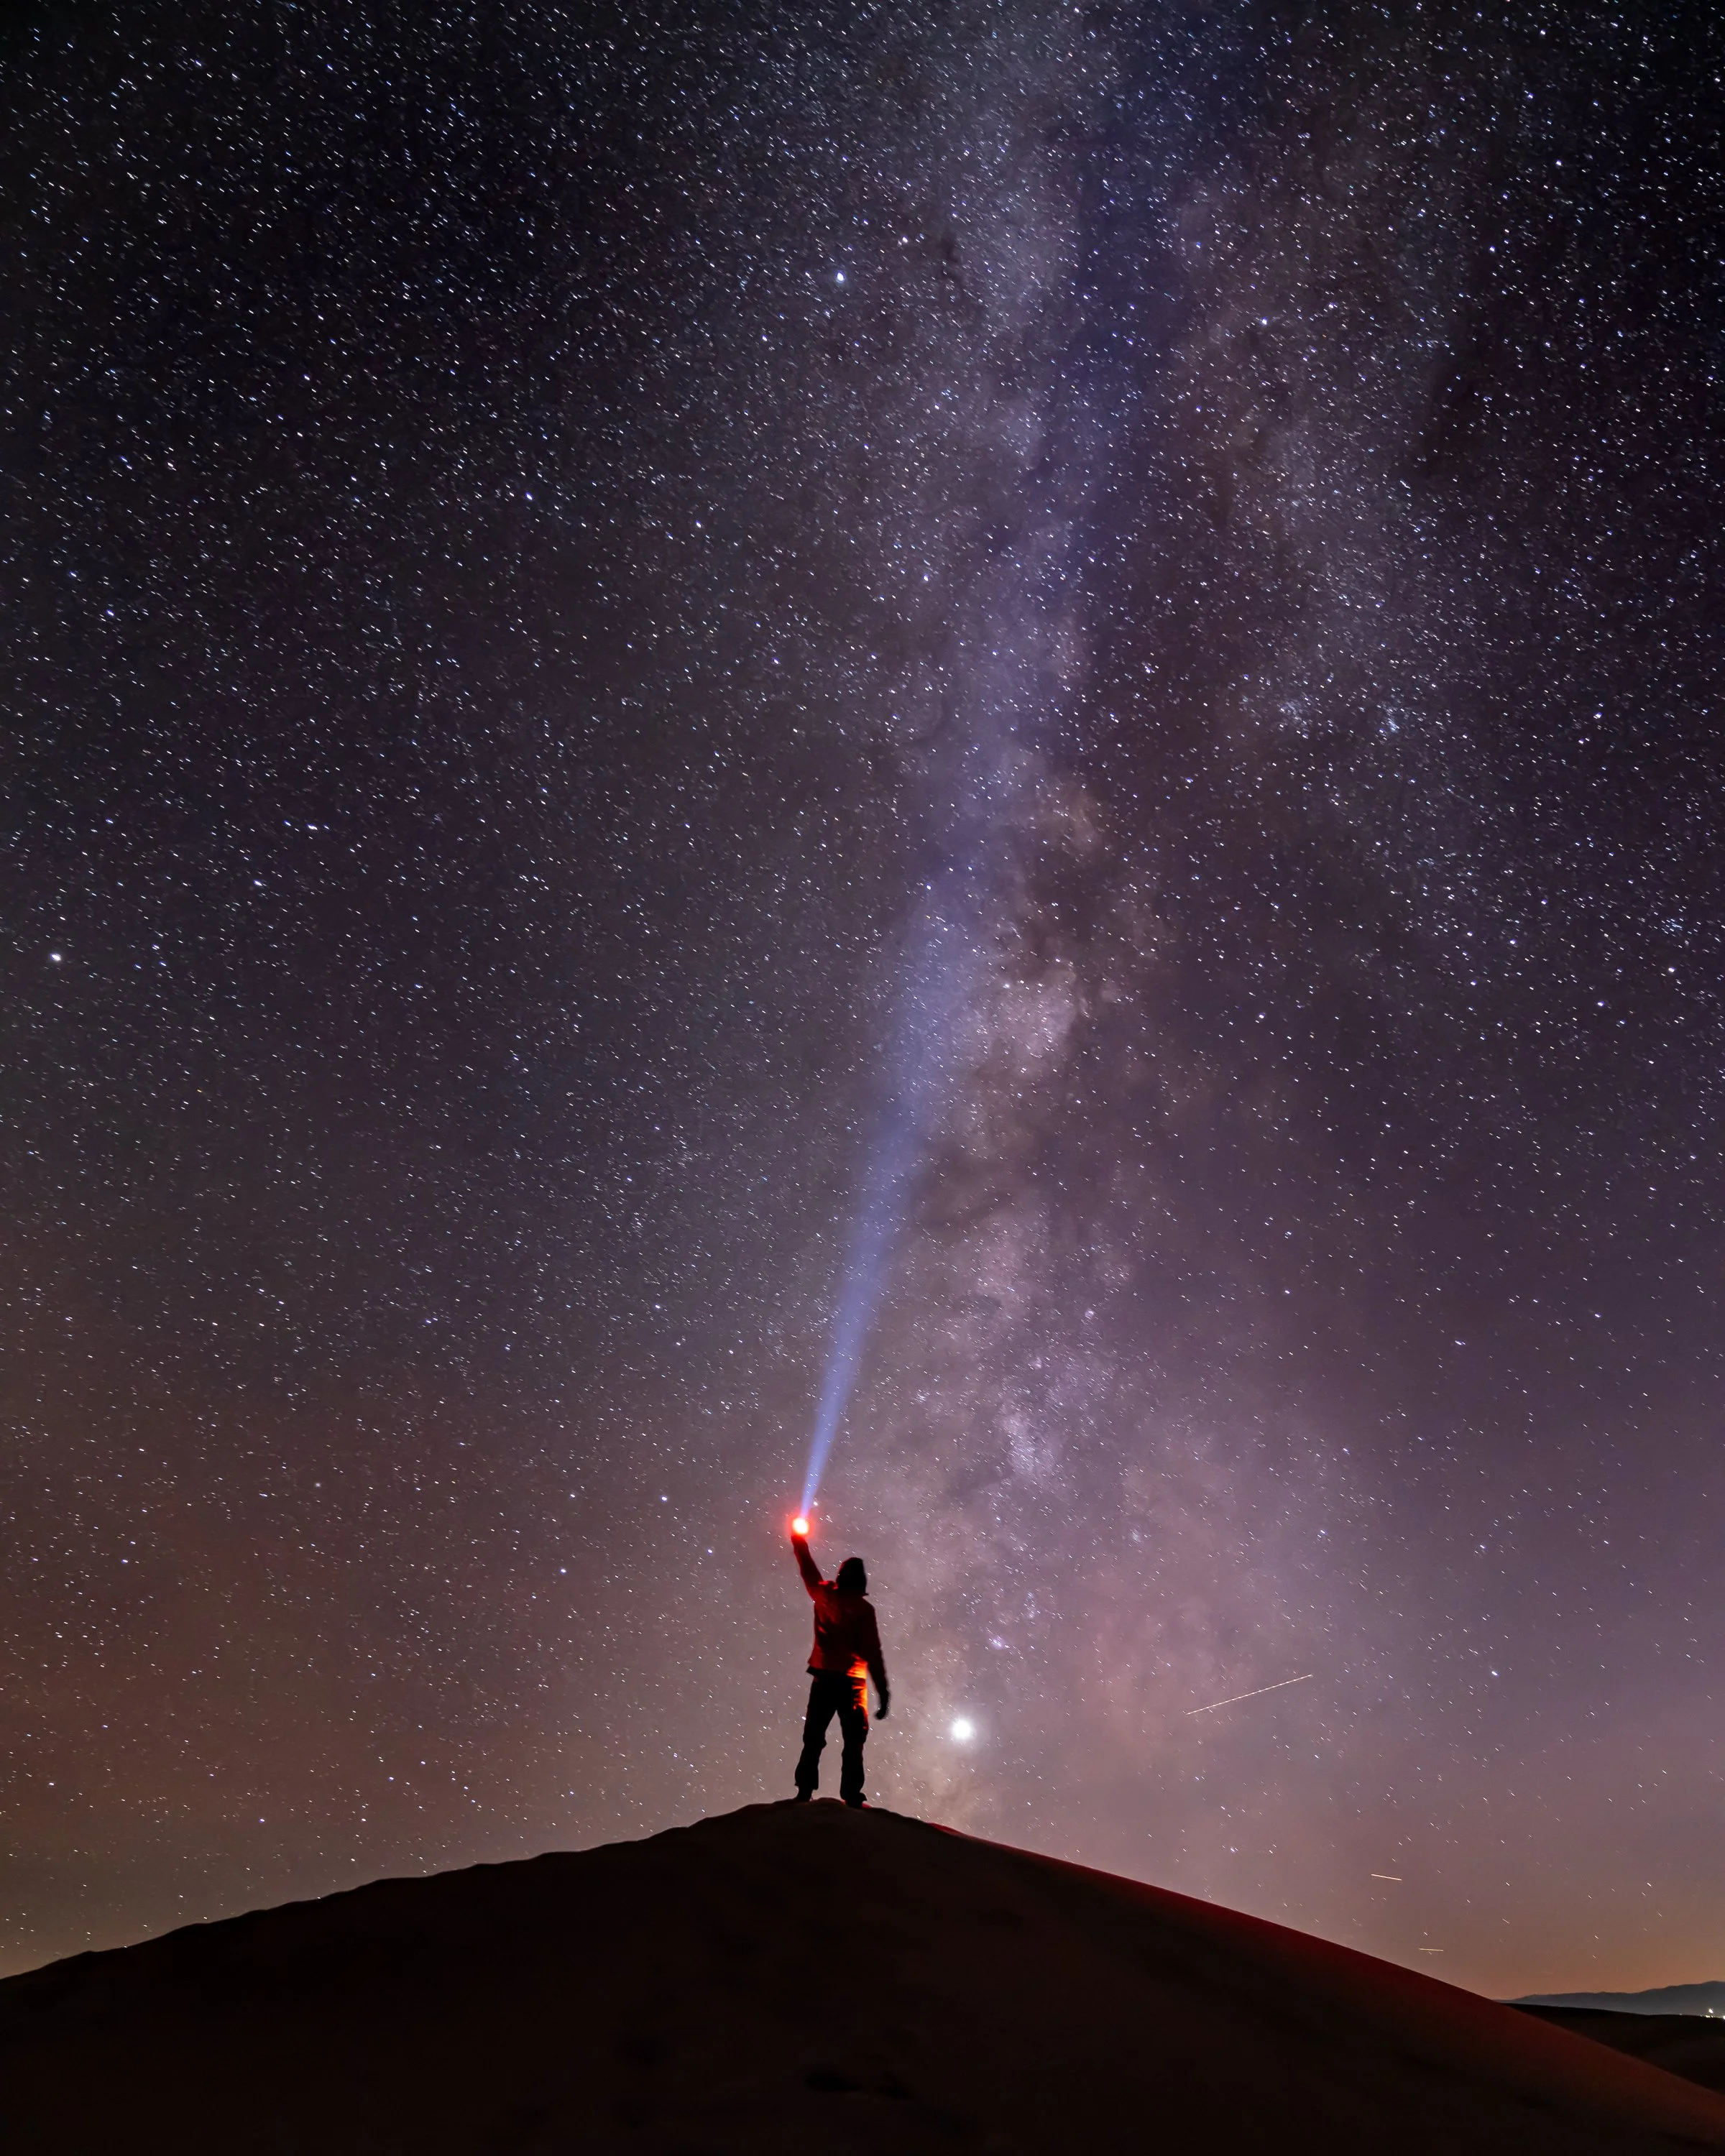
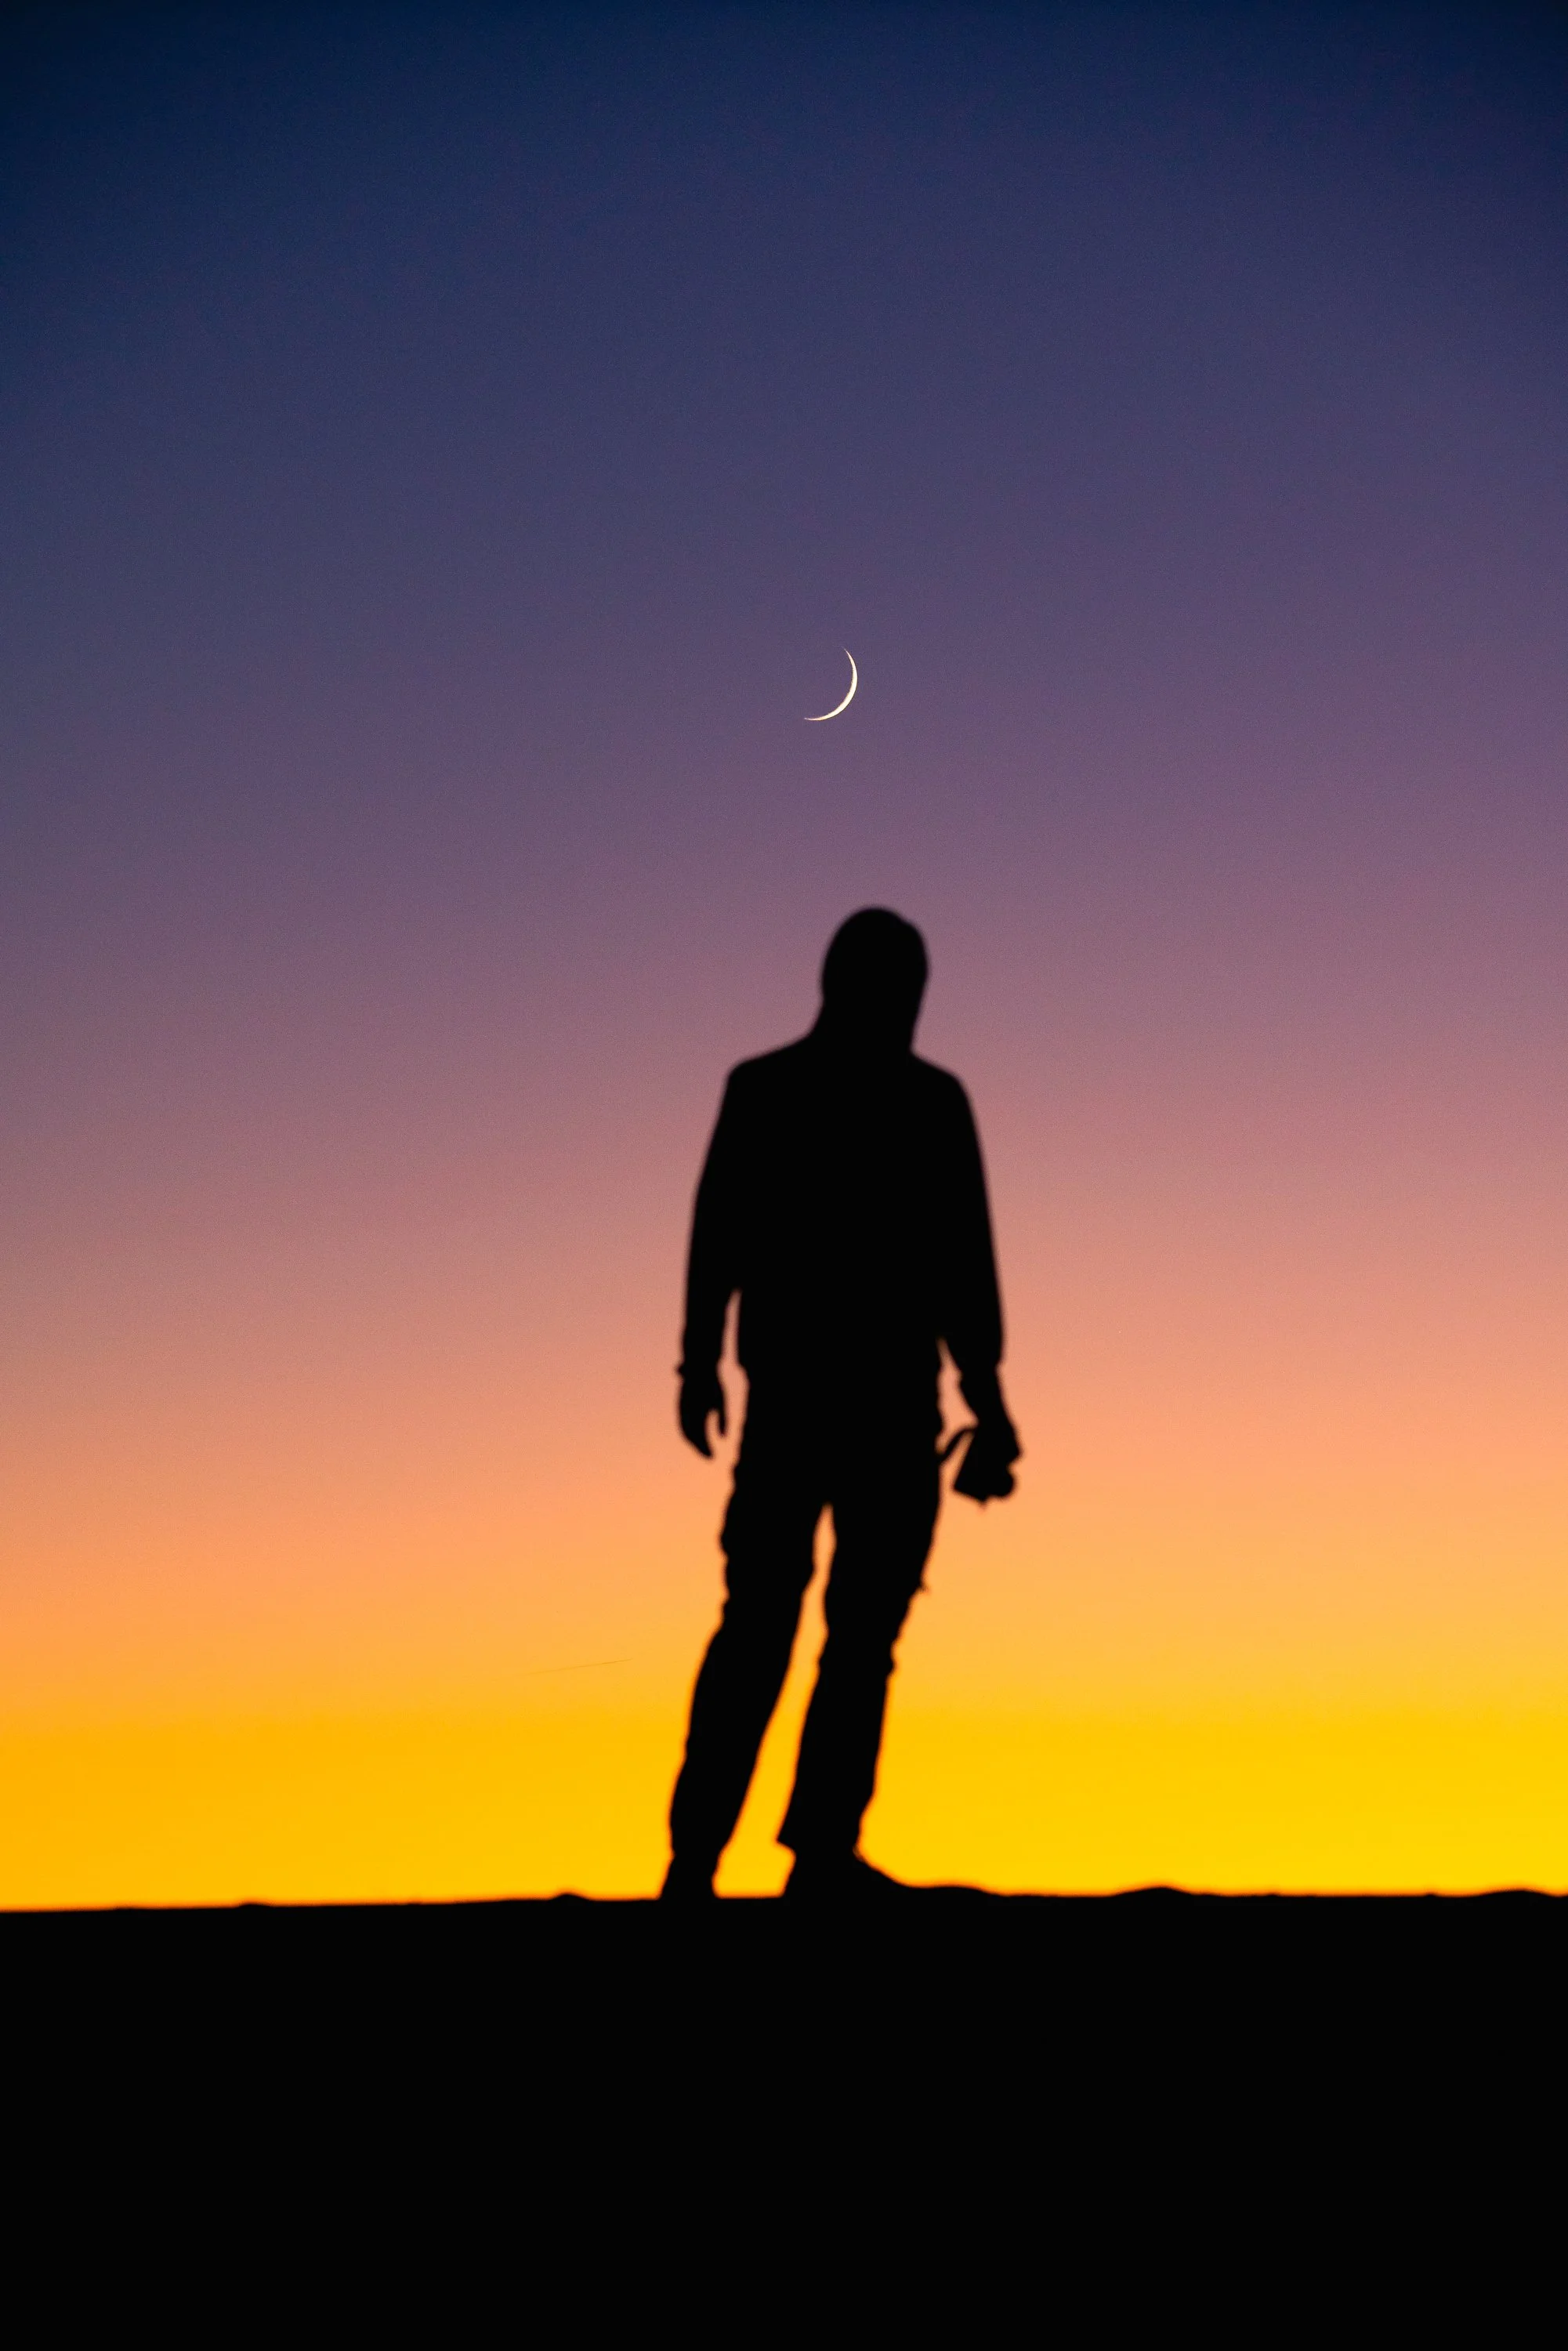
It's important to head out to your location earlier in the day to make a plan for your astrophotography photoshoot. When walking around the dunes look for interesting features or maybe a place for someone to stand so that you can capture their silhouette under the stars or the Milky Way. Scouting your location during daylight will significantly enhance the quality of your final images and give you a better idea of where you want to go and how you want to line up your compositions. It can be very challenging to try and create successful astrophotography at a location that you've never previously scouted, and in Colorado sand dunes it gets especially dark. For our excursion we wandered into the sand dunes during sunset so that we could locate certain dunes and other features that we wanted to shoot during our astrophotography session. We made sure to bring plenty of warm layers so that we could stay in the dunefield past sunset through blue hour and watch the stars rise into the sky. Another tool that can be beneficial to bring with you or to pre-scout location is an app called ‘Photo Pills’ which will give you a rating for the Milkyway and also show you which horizon the Milkyway will rise. This app can also be used for shooting the moon, scouting sunsets or sunrises and a handful of other uses. It’s a great app for photographers who like to get deep into the planning side of astrophotography, the more you plan the better the final result. After you plan out a few landscape or adventure compositions to execute under the night skies you can either wait for the stars to come out or return later in the evening to recreate your ideas under the Milkyway galaxy.
Camera Gear & other tools for a successful astrophotography session
-Camera (Any mirrorless or DSLR can capture stunning astrophotography)
-Wide Angle Lens (Wide angle lenses with the ability to open up to F2.8)
-Phone w Photopills (to locate the Milkyway)
-Ultra-bright flashlight or light up frisbee
-Sturdy tripod
-SD card
-Headlamp (with a red mode) & extra batteries
-Aputure MC4 LED Lights (to get creative with light painting or lighting your subject)
-Extra Camera batteries
-Blower and lens brush (to clean off any blowing sand or dust)
-Lens cleaning cloth
-Snacks & more snacks
-Warm layers, blanket and/or a sleeping bag
-Stargazing App (to identify constellations and planets)
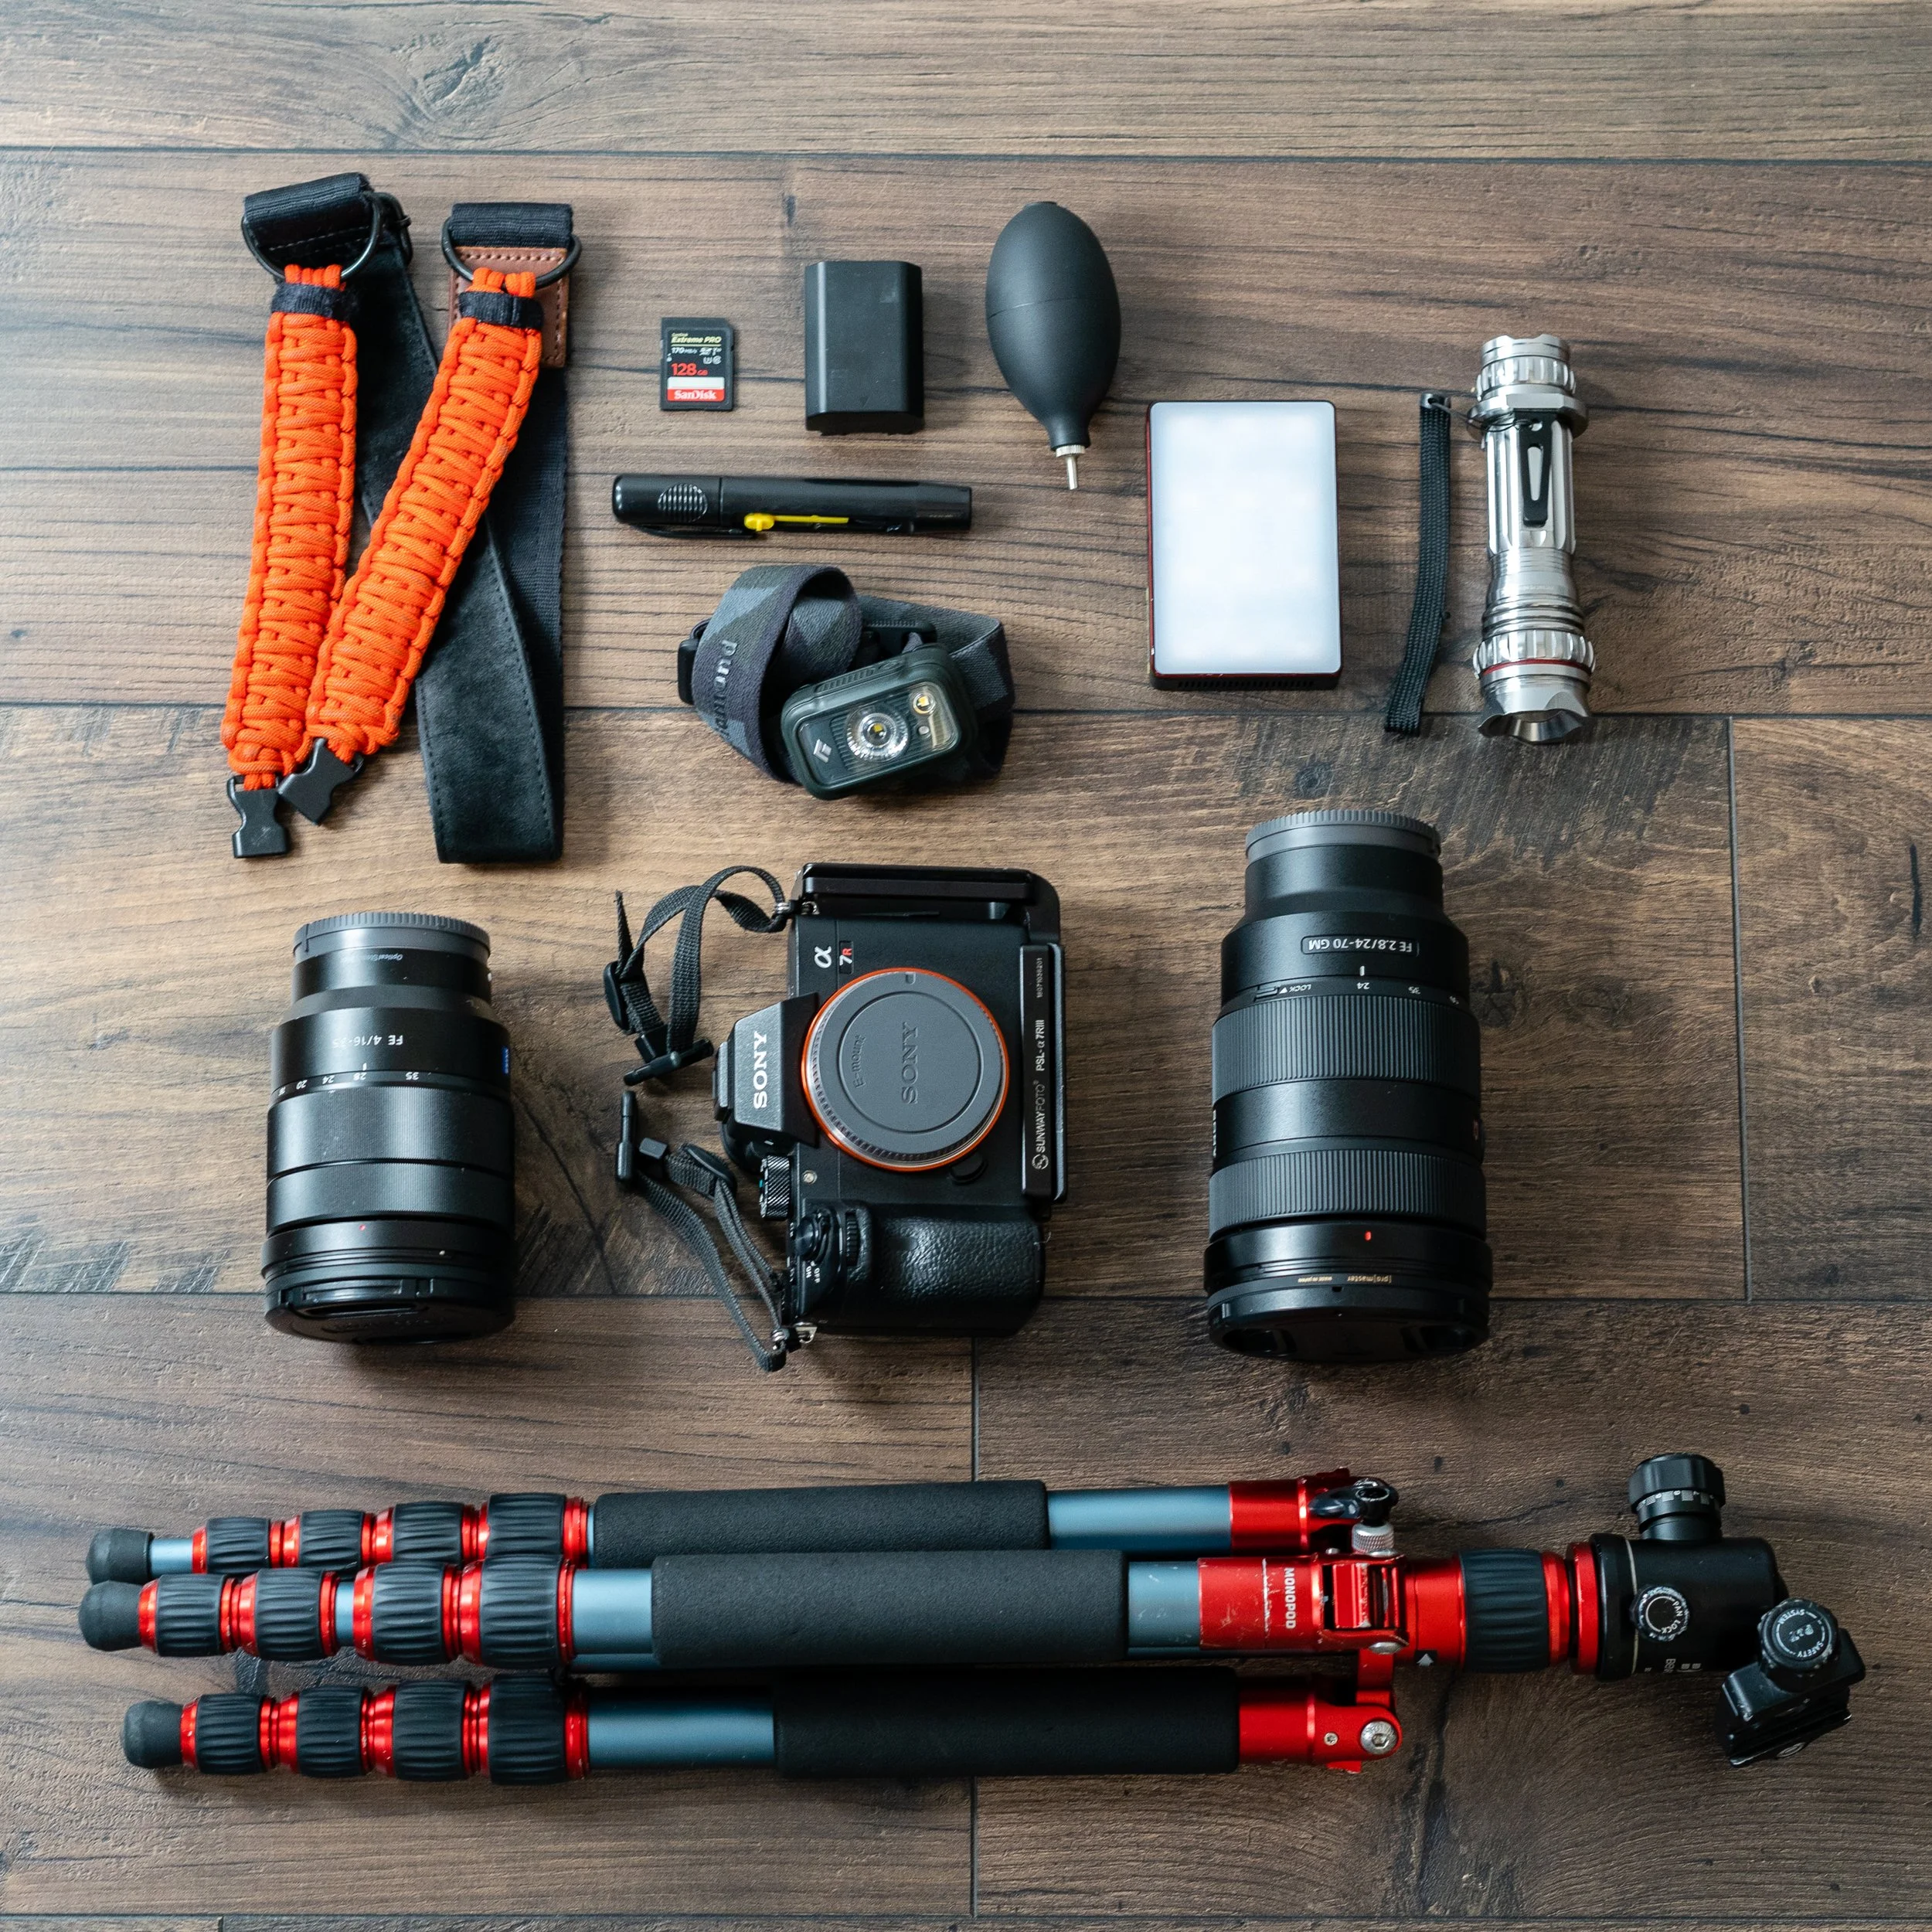
Here’s a look at what’s inside my camera bag for an Astrophotography Shoot - Sony Camera system

Camera Settings:
Set camera to manual shooting mode
Set focus mode to manual focus, snap focus on a bright star or set lens to ‘sweet spot’ where the majority of the stars in the sky are in view. This is close to the infinity point on most lenses
Set white balance to custom, between 3000-4000 (tweak according to your camera body’s colors, can always be adjusted in post)
Timer, always use a two, five or ten second timer so you don’t introduce any camera shake after pressing the shutter. When setting your tripod up in sand, hang your camera backpack or some weight from the base of the tripod to make sure it is sturdy and won’t move during your long exposures.

Starter camera settings (check exposures and tweak settings from here):
When shooting with a 14-16mm (wide angle lens)
16mm 25-30” F2.8 or F4 at ISO3200
24mm 25” F2.8 at ISO3200
When shooting with a 50 or 55mm (prime lens)
55mm 9”-13” F1.8 at ISO3200
*Make adjustments from here, if you zoom in on your test frames and the stars are trailing then shorten your shutter speed. If you zoom in on your test frames and see way too much noise, try lower your ISO a bit, or if you want to see more stars raise your ISO to find the right balance. Zoom in on a few test shots to make sure your stars are tack sharp and adjust your focus. Anytime you move your camera, adjust your tripod or change focal lengths you will need to double check your focus to make sure you are focusing on the stars.
Below are a few great tutorials from YouTube covering the basics of Astrophotography, my favorite is this first one with one of my hero’s Chris Burkard via SkillShare:
Was this guide to astrophotography helpful? Leave me some comments below if you would like to see more content like this, check back soon for more blog content. Thanks for reading along, and have a great New Year, welcome to 2022! Blog in partnership with Visit Alamosa. More blogs and YouTube videos coming soon… Frankie @fr33water (check out more over on Instagram and follow all my adventures…)